Garlic Farming In Kenya Step by Step.
Introduction to Garlic Agribusiness in Kenya
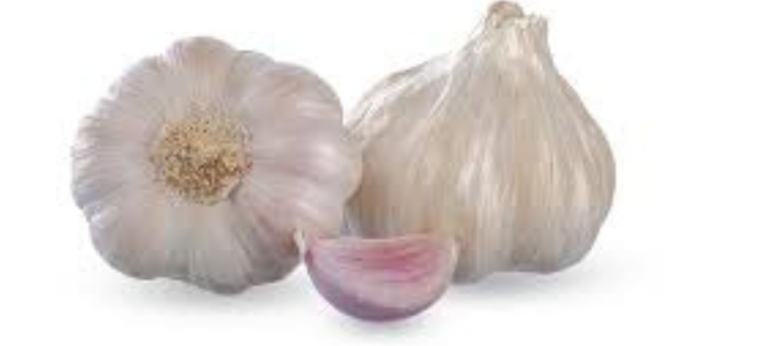
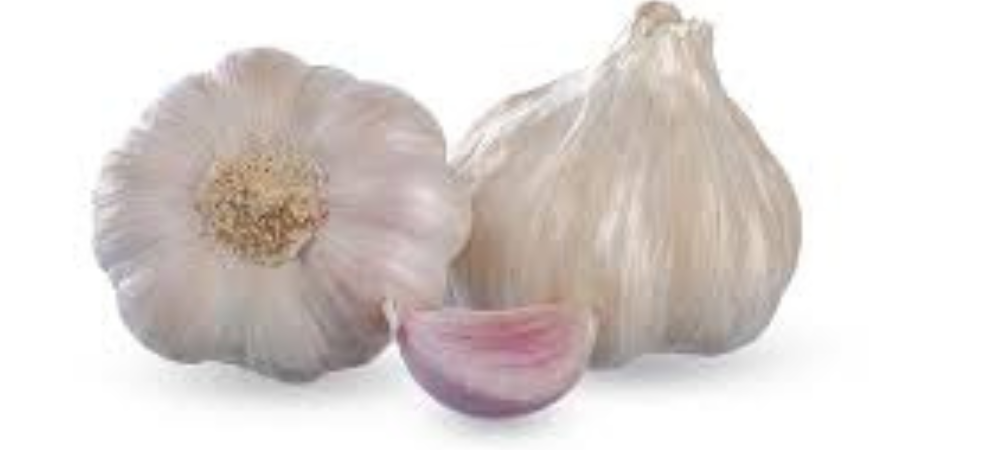
Garlic, known locally in Swahili as Kitunguu Saumu, is a high-value horticultural crop belonging to the onion family (Amaryllidaceae). In Kenya, it has emerged as a highly lucrative agribusiness venture due to soaring local and international demand, particularly for its use in preparation of French, Mediterranean, and Mexican cuisines. Beyond its culinary appeal, garlic is prized for its medicinal properties; it contains allicin, which provides antimicrobial effects against bacteria and viruses, boosts the immune system, and promotes cardiovascular health by regulating blood pressure. Despite this potential, approximately 80% of the garlic in Kenyan markets is imported from China and India because many local farmers lack sufficient knowledge to produce high-quality, marketable bulbs. However, with proper agricultural practices, an acre of garlic can yield between 4,000 kg and 5,000 kg, offering significant returns for dedicated farmers.
Step 1: Selecting the Right Garlic Variety
The first step to a successful harvest is selecting a variety suited to the specific agro-ecological zone of the farm. In Kenya, there are three primary categories: Softneck, Hardneck, and Elephant garlic. Softneck garlic is the most popular among commercial farmers because it is easier to grow and has a longer shelf life of up to six months. Common Softneck varieties include Africa Giant, Arusha Giant, and Creole. Hardneck varieties, such as Roja, produce fewer but larger cloves and are characterized by a woody central stem that produces a false flower stalk known as a scape. While Hardneck garlic is prized for its intense flavor, it does not store as well as Softneck types. Elephant garlic is distinguished by its massive size and subtle, mild odor, though it is less common in mainstream Kenyan markets. Farmers are strongly advised to procure certified seeds from approved companies to ensure the cloves are disease-free and have high germination rates.
Step 2: Understanding Ecological and Soil Requirements
Garlic is a hardy perennial that performs best in medium to high altitudes ranging from 500 to 2,000 meters above sea level. It requires a moderate climate with consistent temperatures between 24°C and 30°C for optimal bulb development, although cooler temperatures of 12-24°C are preferred during the early vegetative stages. The crop is sensitive to excess moisture and humidity; therefore, it thrives in areas with low rainfall, often supplemented by irrigation during dry spells. Regarding soil, garlic requires well-drained, fertile loam or black cotton soil rich in organic matter. The ideal soil pH should range between 5.5 and 6.8. It is critical to avoid heavy clay soils, as they restrict the physical enlargement of the bulbs and lead to poor yields.
Step 3: Land Preparation and Field Establishment
Proper land preparation is essential to create a loose, airy environment for root and bulb growth. The land should be ploughed twice and harrowed to break hard pans and achieve a fine tilth. Many experts recommend soil solarization before planting; this involves covering moist beds with polythene sheets for 20-30 days to kill soil-borne pests and pathogens. A few days before planting, well-rotted animal manure or compost should be broadcast and mixed thoroughly into the soil to enhance nutrient availability. If using basal fertilizers, products like DAP (Diammonium Phosphate) should be applied to maximize early root development. Some guides also suggest mixing manure with Humipower at a rate of 1 ton of manure to 1 kg of the amendment to further improve soil structure.
Step 4: The Planting Process and Spacing
Garlic is propagated through individual cloves obtained by breaking apart a mature bulb. It is important to select the largest cloves for planting, as they typically yield larger bulbs than smaller ones. Planting should be done in trenches or holes approximately 2.5 cm deep. Each clove must be placed with its pointed end facing up and the basal plate (where roots grow) facing down. The recommended spacing is 30 cm between rows and 15 cm between individual plants. After placing the cloves, they should be covered with a shallow layer of loose soil. Germination usually occurs within 7 to 10 days. Immediately after planting, the soil should be lightly watered to ensure it is damp but not waterlogged, as excess water can cause the cloves to rot before they sprout.
Step 5: Irrigation, Mulching, and Weeding
Consistent moisture management is key to garlic productivity. Drip irrigation is highly recommended as it delivers water directly to the roots and keeps the soil moisture balanced without promoting fungal growth. While the crop needs regular water during its vegetative phase, irrigation must be ceased a few weeks before harvesting to allow the papery skin of the bulb to dry and prevent storage rots. Mulching is another vital practice; applying a 4-6 inch layer of straw, grass, or dry leaves helps retain moisture, suppresses weed growth, and adds organic matter as it decomposes. Because garlic is a poor competitor, the farm must be kept strictly weed-free. Weeds compete for nutrients, light, and water, and often harbor pathogens that can infect the crop.
Step 6: Nutrition and Fertilizer Management
To achieve the highest yields, garlic requires a scheduled application of fertilizers tailored to its growth stages. During the early growth stage (up to 3 weeks post-sprouting), DAP is used to promote root and shoot development. In the vegetative stage, when the plant is actively building food reserves, top-dressing with CAN (Calcium Ammonium Nitrate) or NPK 23:23:0 is recommended to maintain healthy leaf growth. Healthy leaves are crucial because the final size of the bulb depends heavily on the health of the foliage at the time of maturity. During the reproductive/bulbing stage, farmers should switch to potassium-rich fertilizers like NPK 17:17:17 to maximize dry matter and improve bulb firmness. Additionally, organic biostimulants like Optimizer (seaweed extract) can be sprayed weekly to manage crop stress and enhance growth.
Step 7: Pest and Disease Control
Although garlic’s pungent smell naturally repels many pests, it is still vulnerable to certain attacks. Common pests include thrips, which suck sap and create silvery patches on leaves, and onion maggots, which cause wilting and deformed bulbs. Major diseases include Purple Blotch (small purple lesions), Downy Mildew (whitish furry growth), and White Rot (cottony mycelium on bulbs). To avoid the use of Highly Hazardous Pesticides (HHPs), which are widespread in Kenya but harmful to health, farmers should embrace biopesticides. Effective natural solutions include garlic spray (crushed cloves mixed with water) and chilli spray, which act as irritants and repellents for soft-bodied insects like aphids and mites. Regular field scouting and removing infected plants are also critical cultural practices.
Step 8: Maturity and Harvesting Techniques
Garlic is typically ready for harvest 4 to 6 months after planting, depending on the variety and altitude. The primary indicators of maturity are the yellowing and browning of leaves, and the falling over of the pseudo-stems. Harvesting should be done during dry weather to prevent moisture-related rots. The bulbs should be carefully lifted from the soil using a digging fork or spade, taking care not to bruise or injure them. Injured bulbs are highly susceptible to blue mold and other storage rots. It is advisable to harvest while some green leaves still remain to ensure the bulb is fully enclosed in its protective papery skin.
Step 9: Post-Harvest Curing and Storage
Curing is perhaps the most critical post-harvest step to lock in flavor and ensure a long shelf life. Harvested garlic should be bundled in tens or fifteens and hung or spread in a single layer in a shaded, well-ventilated area for 3 to 4 weeks. Farmers must avoid direct sunlight during this period to prevent sunburned bulbs. Once the necks and outer skins are completely dry, the tops should be cut about one inch above the bulb and the roots trimmed. For storage, garlic should be kept in mesh bags or wooden crates in a cool, dry place with 60-70% humidity. Table stock is best stored at temperatures between 0°C and 4°C to prevent sprouting, whereas planting stock can be kept at room temperature.
Step 10: Value Addition and Market
TimingTo maximize profitability, farmers should consider value addition by processing their garlic into powder, paste, or oil. In regions like the Bashay valley, processed garlic has been shown to fetch significantly higher prices than fresh bulbs. Strategic marketing is also essential. In Kenya, garlic prices fluctuate seasonally, often peaking between May and September at KSh 300 to 400 per kilo. Savvy farmers use proper curing and storage to hold their harvest until these peak periods, rather than selling during a market glut in January or February when prices can drop to KSh 150. By bypassing middlemen and selling collectively or through value-added products, Kenyan garlic farmers can transform this crop into a substantial source of income.